Camping Necessities 2021

2021 is like 2020. No, we are not diving into another global pandemic, in fact we are coming out of one. By the way, go get your Covid-19 vaccine. Going into 2021 we are seeing supply chain shortages. This means we can’t get all the product we normally do. If you plan to camp, backpack, climb or spend time outdoors at all this year. If you wait to buy the gear you need, you might be too late. Before items run out, these are the items we recommend for summer 2021.


Big Agnes

BioLite

Patagonia

Big Agnes

In search of the best night sleep while outdoors? Look no further than Big Agnes. We carry the tents, sleeping bags, and sleeping pads to keep you comfortable. In terms of tents, Big Agens is implementing their own Solution Dyed Fabrics. What are Solution Dyed fabrics you ask? Well, this Big Agnes has reduced 50% of water required for dying their fabric, saving up to 5 gallons of water per tent. On top of that, 80% less energy is required and 80% fewer chemicals are used. Big Agnes already makes high quality tents, why not make them more sustainable? When you buy high quality you buy less. High quality gear lasts longer, is more reliable, and will keep you loving the outdoors.


BioLite

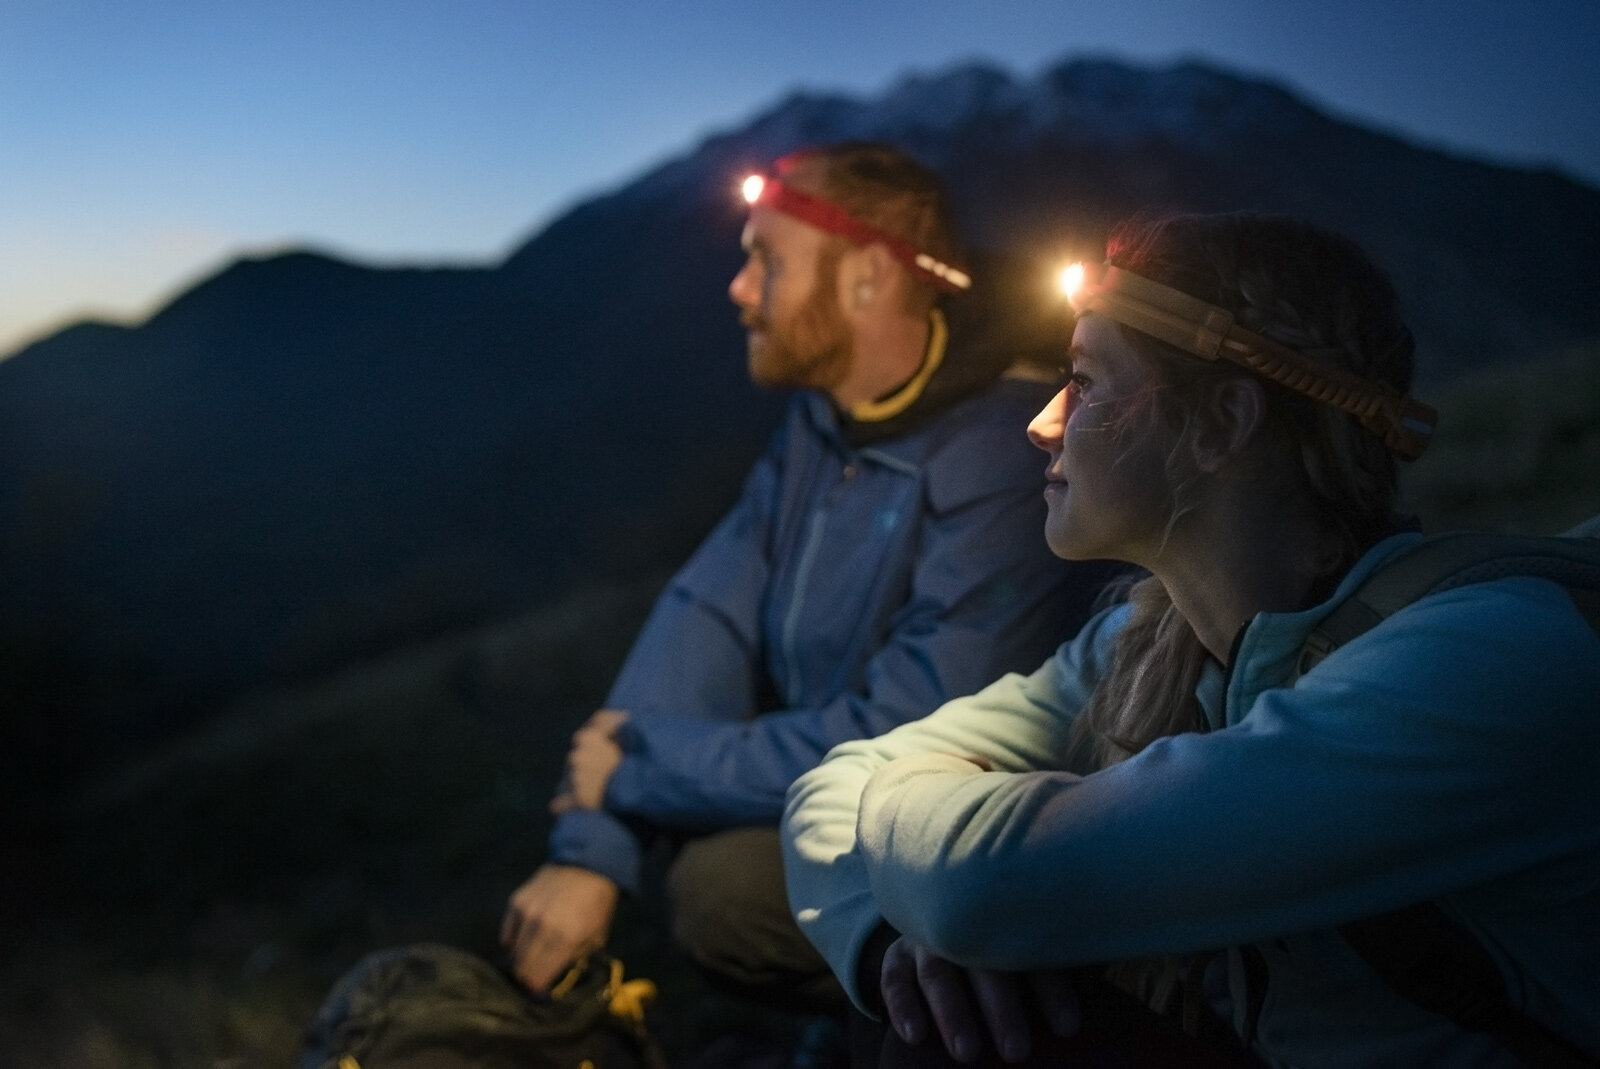
Reframing energy and lighting, BioLite is changing the game in the way we see at night and charge our electronics. BioLit headlamps are uniquely light, no-pun-intended, and equally powerful. Long-lasing, water resistant, powerful, rechargeable, lockable. BioLite headlamps will drop weight in your pack and last for your entire trip.

BioLite 330 Headlamp

BioLite 330 Headlamp

Beyond headlamps, Biolite is changing  the way we use energy. Do you love having a campfire while camping? BioLite has made the FirePit+. With X-Ray Mesh, this firepit is extremely efficient. Central to the firepit is an advanced fan system pushing air into the flames. This increases combustion, burns more particulates and helps your fire go smokeless. No more shuffling around the fire to avoid smoke. The advanced fan system also helps increase the temperature expelled by the fire to help you grill to perfection. When the fan is not in use, it doubles as a power bank to power your other devices. Combine this with one of BioLite’s solar panels, you’ve gone renewable. 

Patagonia

Do you love your Patagonia R1? Well it is time for an upgrade. This year Patagonia came out with the R1 Air. This new layer is lightweight, breathable and quick drying. Not to mention, it is made with 100% recycled fabric. Perfect for spring ski touring, as a layer underneath a dry top or dry suit, alpine climbing, or to wear around town. This fleece is soft comfortable and you won’t want to take it off once you put it on. Our shop employees use it as their everyday mountain piece. Tested in the San Juan Mountains, the Patagonia R1 Air will keep your warm on cold mornings and breathe once it heats up in the middle of the day. You won’t need to change layers all day long.


Sustainability in Climbing

Outdoor Industry

Climbing at Lemon Reservoir. Photo by William Berger

Climbing at Lemon Reservoir. Photo by William Berger

The outdoor industry focuses on getting people outdoors and experiencing life to its fullest. In doing so, more and more people are getting outside and using more gear. This not only takes a toll on land use but also on the impacts of production. Therefore, companies strive to find ways they can become more sustainable.

Edelrid

Edelrid, the German climbing company is making strides towards sustainability within the climbing industry. Though many companies make long lasting and durable products, Edelrid focuses on building products with sustainability in mind. In 2009 Edelrid became partners with Bluesign Systems to manufacture their climbing ropes and textiles with purpose. This means they track the flow of their materials from the factory floor to the finished product, making improvements in sustainability along the way.

In 2010, Edelrid added photovoltaics to their production facility in Germany. In 2014, they joined the European Outdoor Conservation Association (EOCA). Working with EOCA they are able to help fund conservation projects throughout Europe.

In 2016, Edelrid designed their first rope made of leftover yarn from their production cycle, coined as a Bluesign product. Several companies discard their leftover rope. Edelrid has found a way to breakdown their leftover yarn and repurpose it to build unique ropes.

Climbing at Cascade Creek. Edelrid Rope. Photo by William Berger

Climbing at Cascade Creek. Edelrid Rope. Photo by William Berger

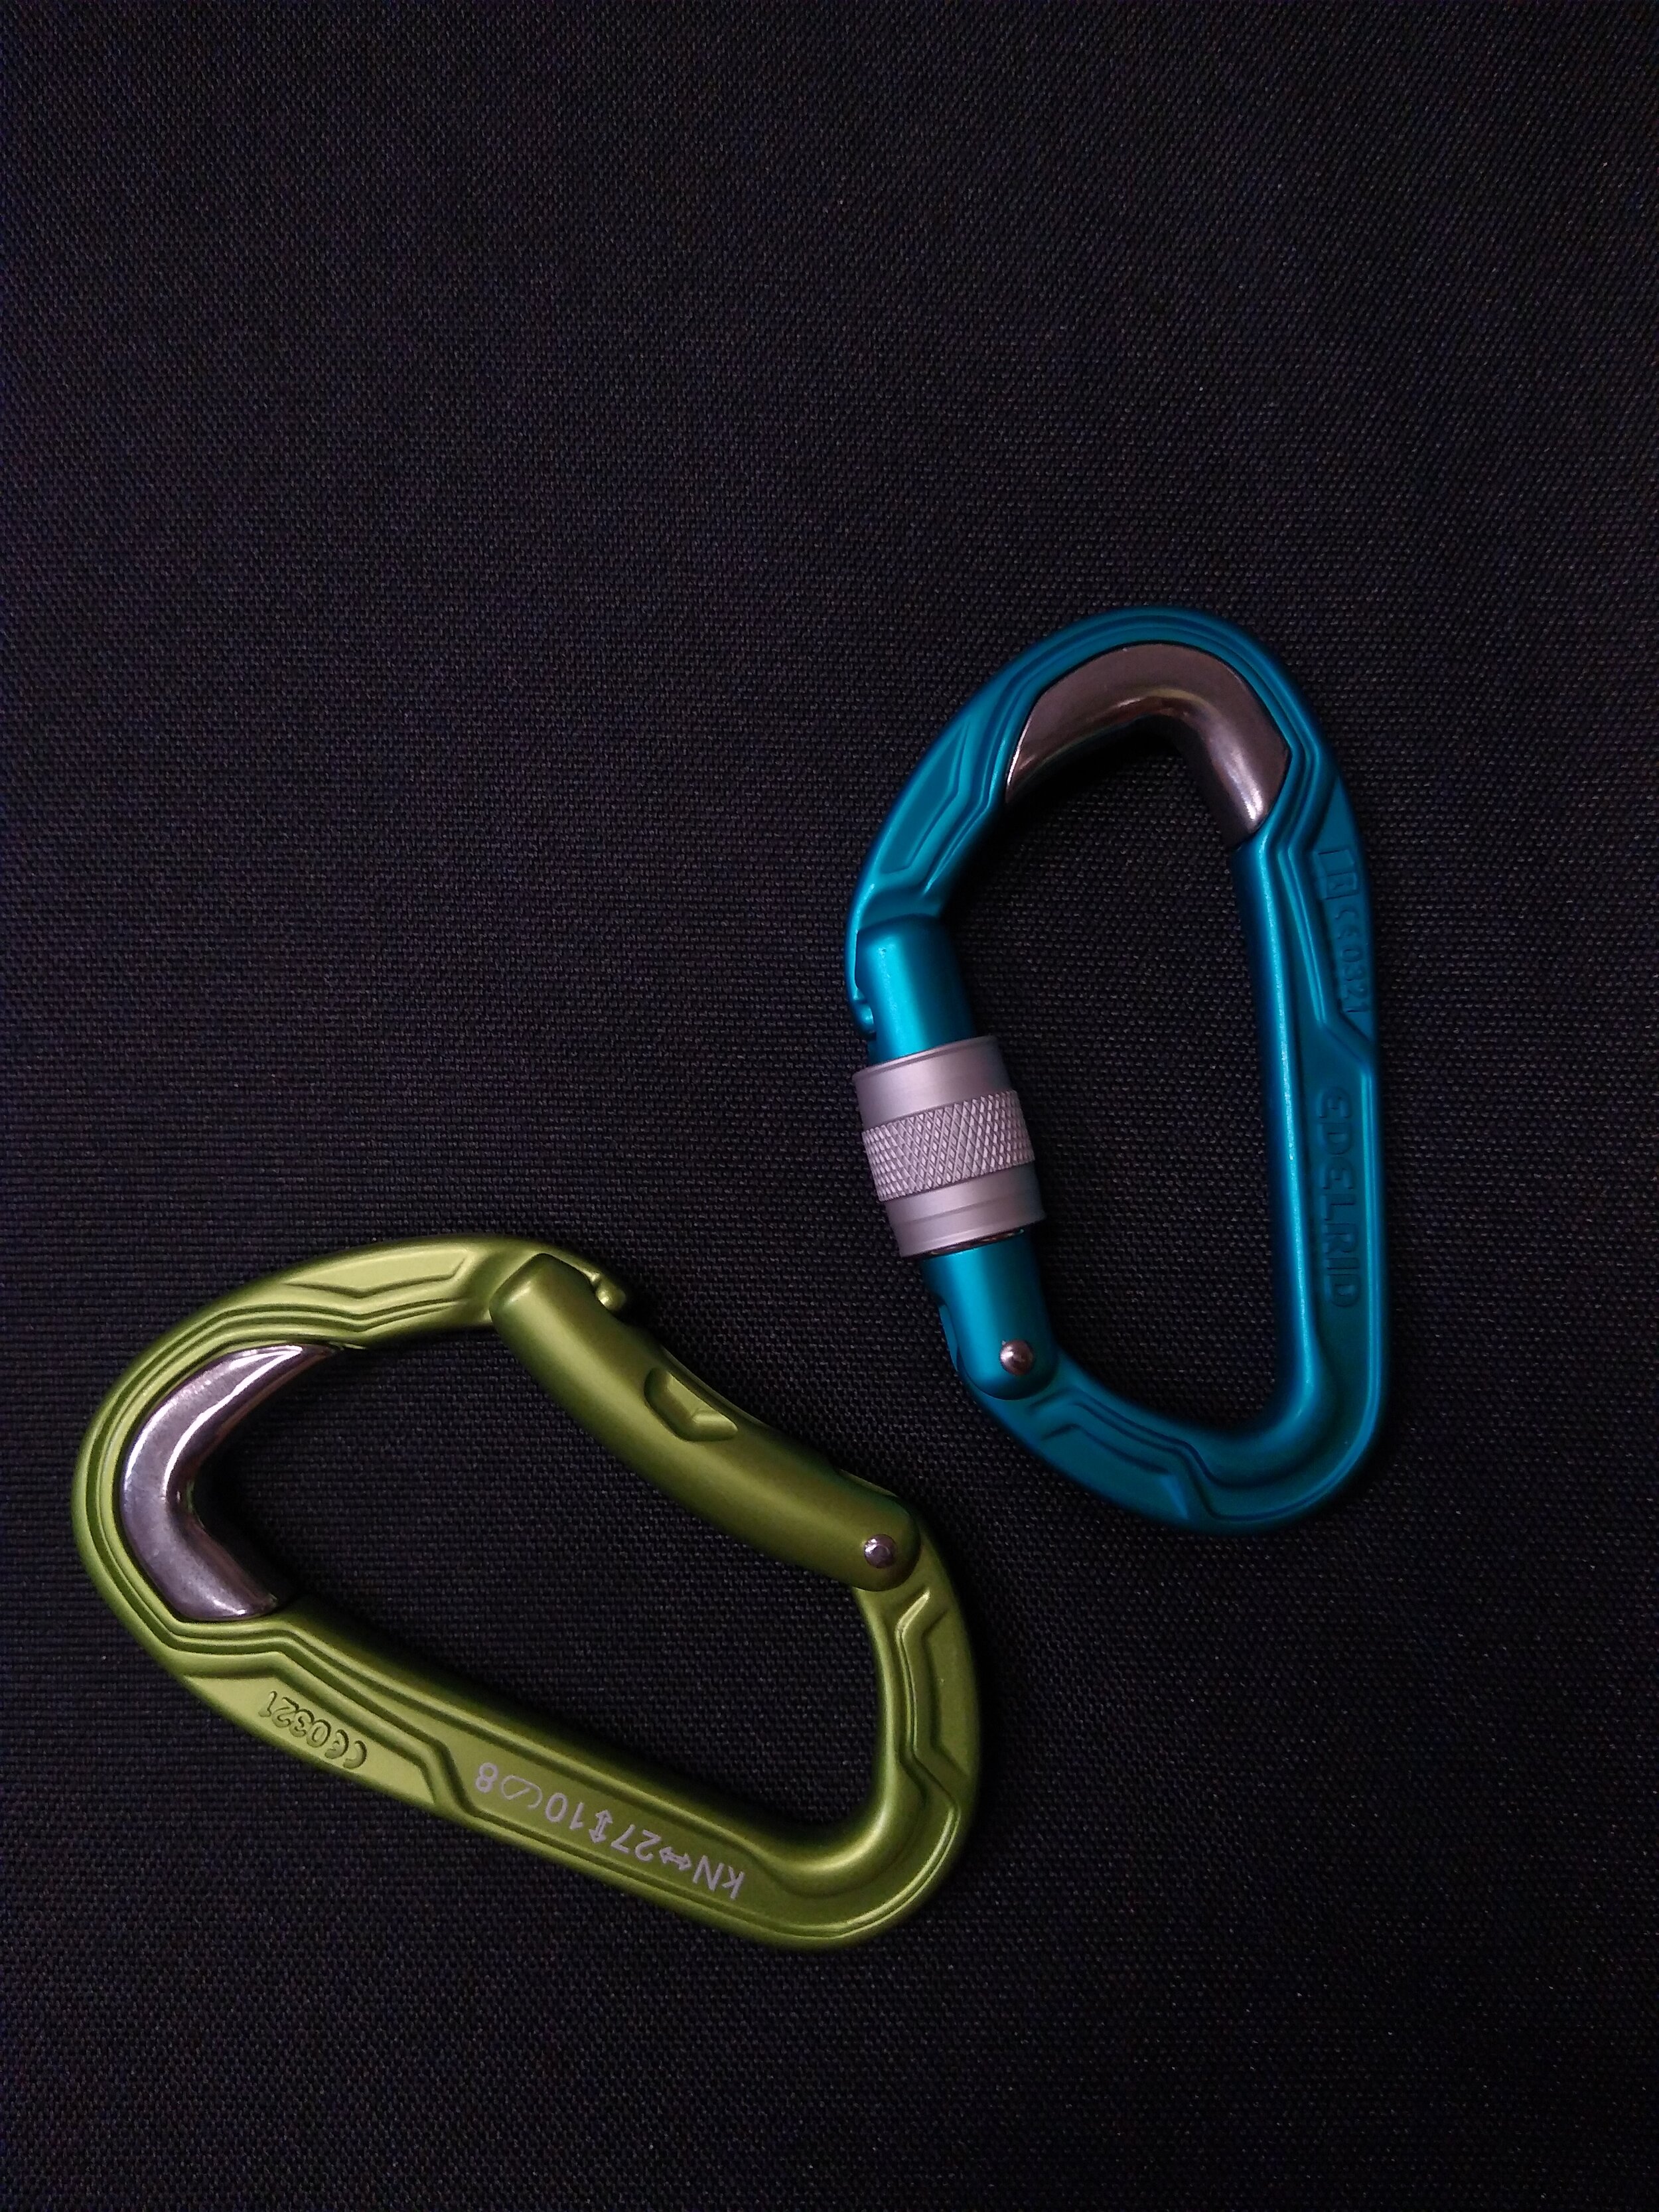
Year to year, Edelrid takes strides forward in making more sustainable products. One of the most influential business move they have made is re-implementing steel into their climbing equipment. Primarily focusing on extending the lifespan of all their products. In 2017 Edelrid implemented stainless steal into their carabiners, belay devices, and pulleys. As weight paramount in climbing and mountaineering Edelrid didn’t want to make the entire product line steel. This is why they focused steel in high friction areas to help extend the lifespan of the gear they make it more sustainable.

Climbing at Penitente Canyon. Photo by William Berger

Climbing at Penitente Canyon. Photo by William Berger

Edelrid Carabiners

Edelrid Carabiners

All the climbing equipment Edelrid makes stands out on its own, but when combined together, Edlrid equipment is the king of sustainable climbing. If you can shift every carabiner you own to Edelrid’s stainless steal design, not only are lengthening the life of your carabiner but extending the life of a your rope and eliminating aluminum oxide on your rope. Combine Edelrid carabiners with an Edelrid stainless steal belay device further strengthens sustainability practices. Edelrid makes the GigaJul and MegaJul, an auto locking, stainless steal, belay device comparable and arguably better than Petzl’s Grigri. Adding an Edelrid rope or harness to your quiver, you are helping reuse excess materials and eliminating waste from the front line of production.

Stop by the shop and check out what we offer from Edlrid to help make your climbing gear more sustainable.

Ski Mountaineering Essentials: What Your Need to Take Your Backcountry Skiing to the Next Level

Lightweight Ski Touring Setup

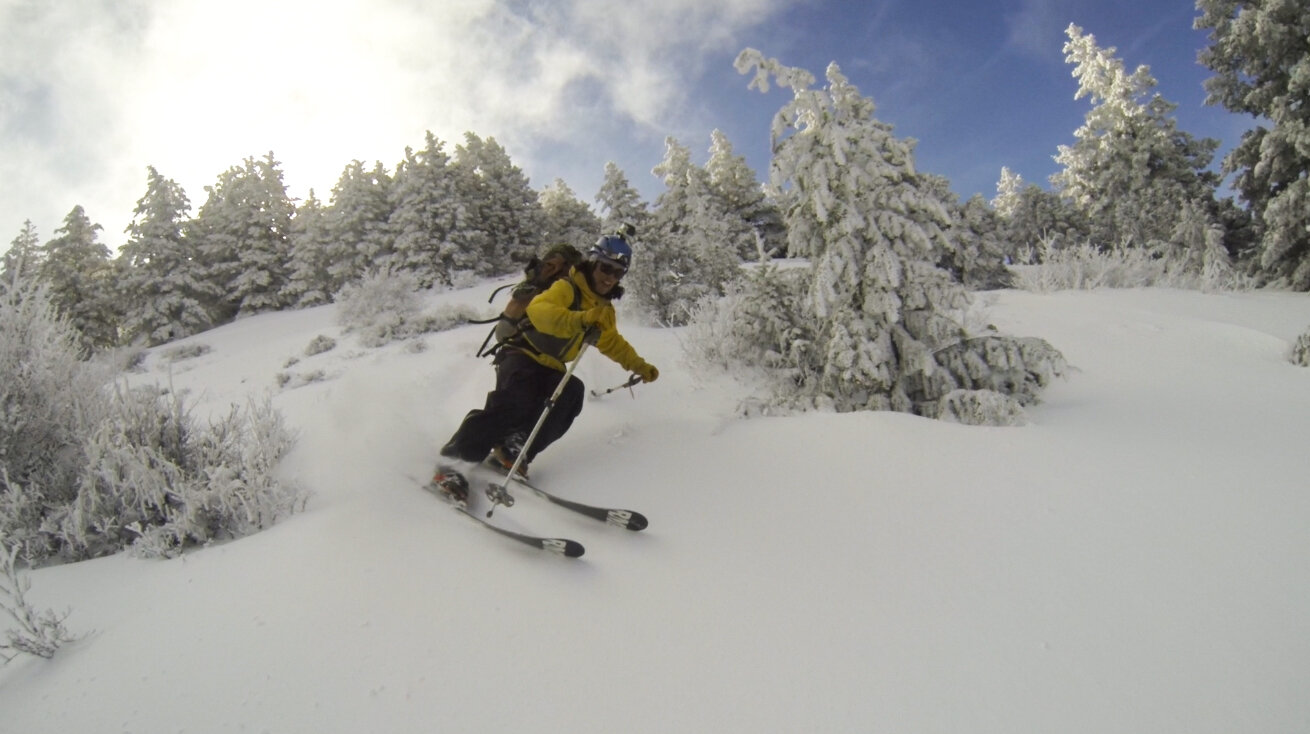
Typically, spring skiing and ski mountaineering means long approaches and several hours in ski boots. This means lightweight gear will make the difference when you’re on hour 6 of an 8 our day. Most people opt for a skinnier ski in the spring and ultra lightweight touring bindings. Thanks to innovation in the ski industry, many companies are building uber-light skis with the stability and capability to give you the confidence of conquering big mountain terrain. Lightweight chargers like the Blizzard Hannibal are a good option for cutting weight and getting optimal performance.

Ski Mountaineering: Photo by William Berger

Ski Mountaineering: Photo by William Berger

Ski and Boot Crampons

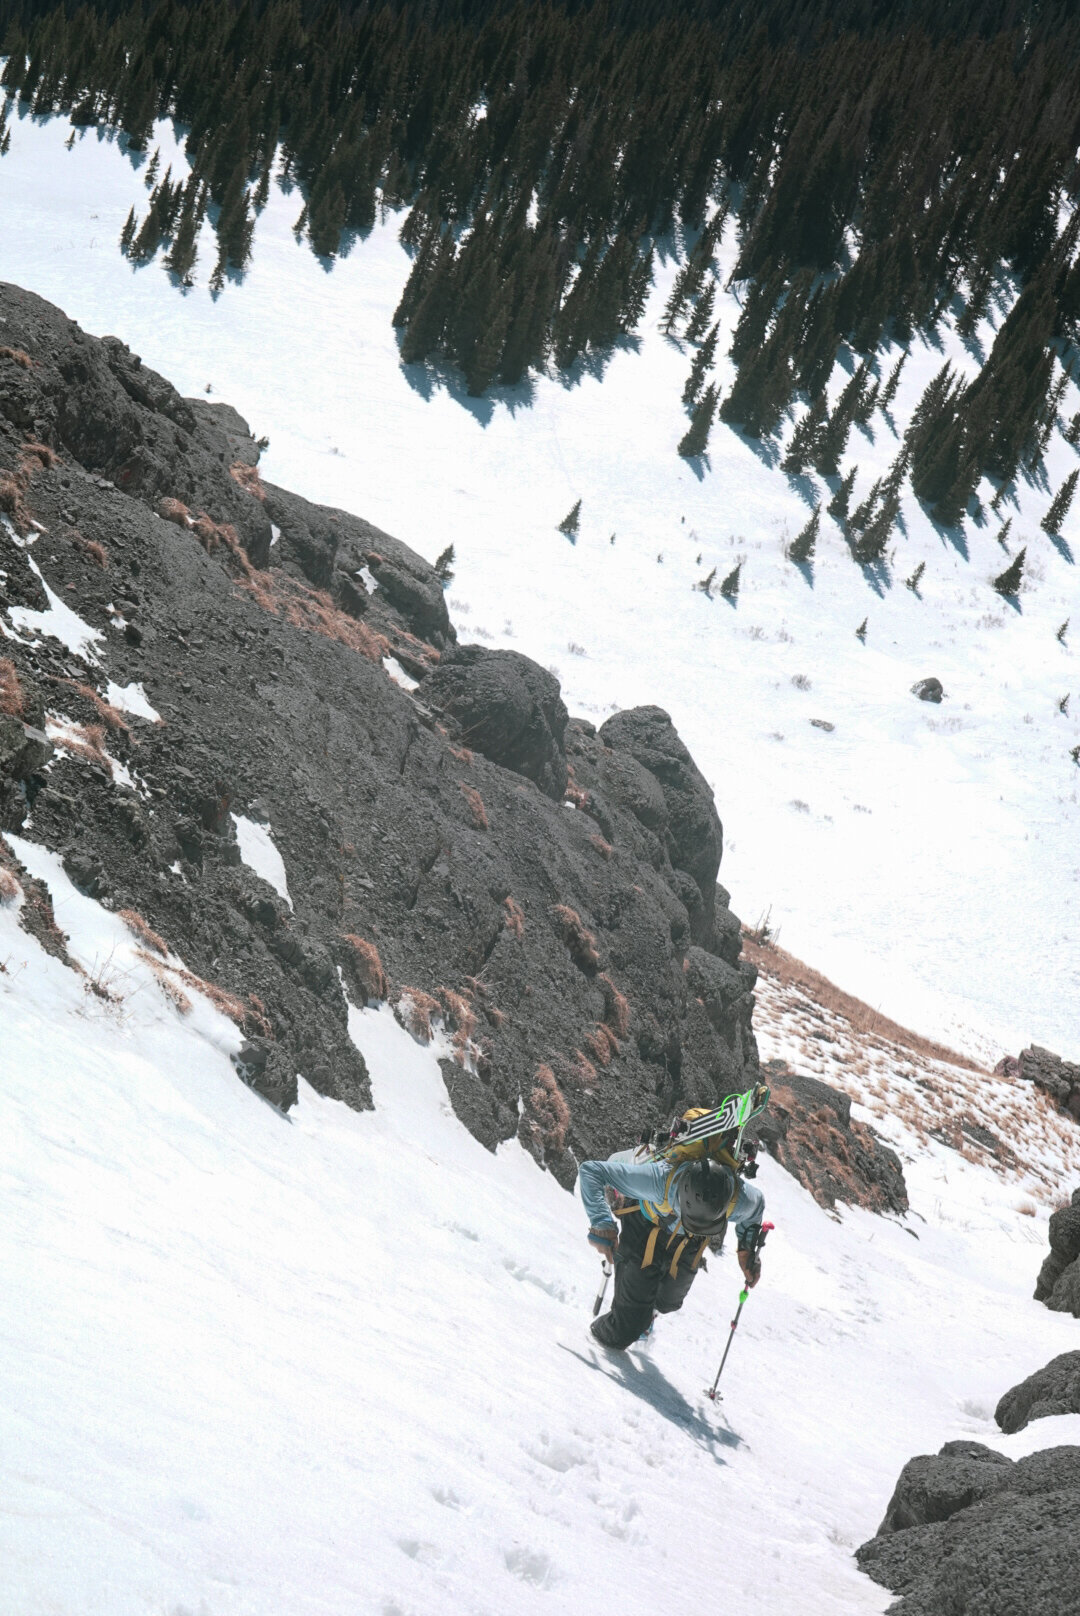
When it comes to steeper terrain, crampons can be a game changer. Early starts are a must and the snow is usually still frozen, ski crampons give you the edge you need to make it up steep, icy terrain where your skins would slide backwards. Ski crampons clip onto the toe piece of your touring binding and make your day easier when the going gets rough.

Once the terrain gets too steep for your skis, boot crampons come into play. Boot crampons clip to the bottom of your boot and make the steepest terrain feel like a sidewalk. Crampons like the Petzl Leopard are a good option for cutting weight and optimizing performance.

Boot Crampons: Photo by William Berger

Boot Crampons: Photo by William Berger

Ice Axe

As an extra safety feature and to give you confidence on extra steep terrain, an ice axe is necessary. Black Diamond and Petzl make lightweight and well designed ice axes perfect for ski mountaineering. It’s important to get the right size axe to fit on your pack and to not become cumbersome on steep boot packs. Learning how to self arrest and ski safely with an axe is also a must.

Ice Axe: Photo Alex Ekey

Ice Axe: Photo Alex Ekey

Harness

Light. Light. Light. Blue Ice makes the perfect lightweight harness and should be on everybody’s list for ski mountaineering essentials. With adjustable leg loops, the ability to put on without lifting your feet off the ground, this harness is a must.

Climbing Engineer: Photo by Alex Ekey

Climbing Engineer: Photo by Alex Ekey

Glacier Rope

A rope with dry treatment is key for ski mountaineering. The ability to work in ice and cold conditions makes glacier ropes easy to use for ski mountaineering. Ropes from Edelrid, Black Diamond and Blue Water are what we recommend. It might be a good idea to go with a smaller diameter rope than normal to help cut weight and make the uphill a little bit easier.

Climbing Engineer: Photo by William Berger

Climbing Engineer: Photo by William Berger

Lightweight Helmet

A climbing helmet is a ski mountaineering essential. You don’t want your winter ski helmet with extra padding and ear flaps heating your head on the way up a couloir. Climbing helmets offer perfect safety and are breathable and light to keep you happy all day long.

Skiing with a Climbing Helmet: Photo by William Berger

Skiing with a Climbing Helmet: Photo by William Berger

Education

The best way to learn is through taking a course from a reliable ski guide service. It is important to have the skills, knowledge and protocols before ski mountaineering. Once you find a course, remember to practice, practice, practice. Just like any technical activity, practice is one of the most important factors keeping safety in mind.

San Juan Expeditions: Ski Mountaineering Course

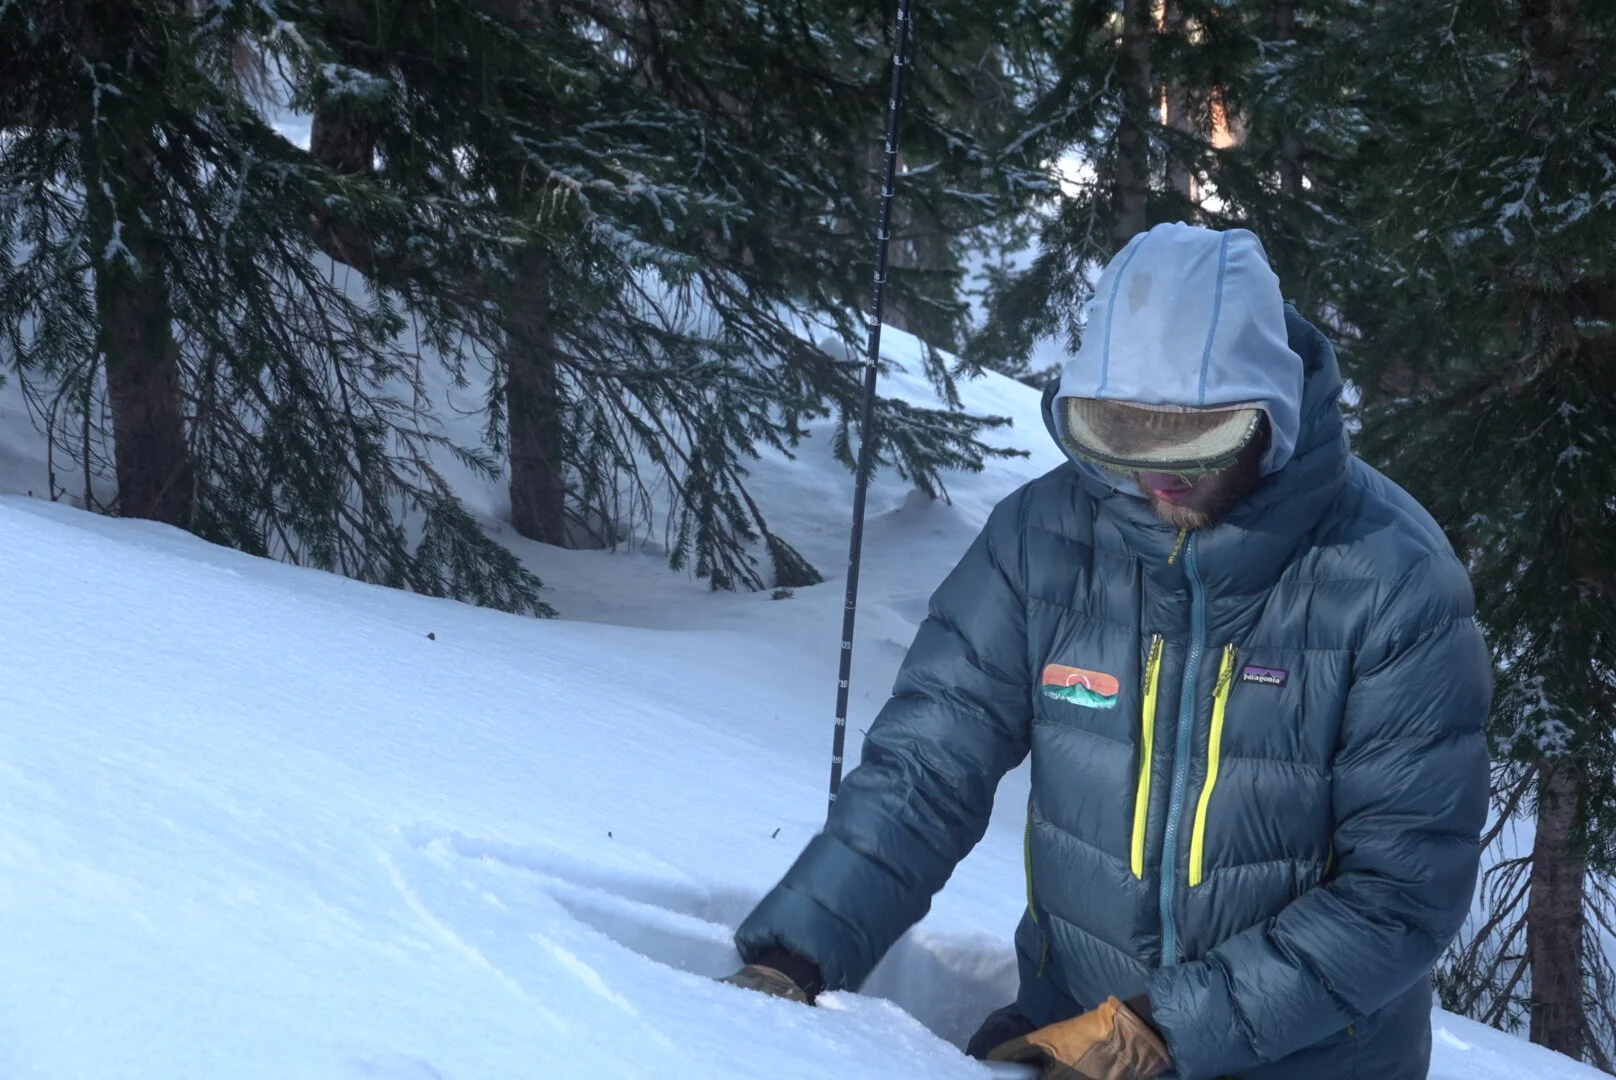
Always remember to check CAIC before heading out into the backcountry.

Backcountry Skiing and Avalanche Safety

Tips and Tricks for Backcountry Skiing and Avalanche Safety

  1. Gear and Training

  2. Get the Forecast

  3. Terrain Management

  4. Parking Etiquette

  5. Backcountry Etiquette

Our partner and non profit organization, Friends of the San Juans, started producing video shorts this year about what it takes to travel safely and stay smart in the San Juan backcountry. We encourage everyone to get out and explore the backcountry. Before you go out, make sure you know what it takes to do it safely.

Episode 1: Gear and Training

Backcountry Skiing and Avalanche Safety Gear and Training

What do you need while out in the backcountry? The three main pieces necessary for backcountry travel are beacon, shovel and probe. Once you have the gear, get the training. Keep backcountry skiing safety a main priority. Check out these local options for backcountry training and courses.

Silverton Avalanche School

San Juan Expeditions

San Juan Mountain Guides

Episode 2: Get the Forecast

Get the Forecast with Colorado Avalanche Information Center (CAIC)

Colorado Avalanche Information Center (CAIC) is the place to go for avalanche forecasting. Make sure you check the avalanche forecast everyday before you head into the backcountry. CAIC gives avalanche forecasts, field reports, weather forecasts, and live weather data to help with your backcountry skiing and avalanche safety.

Episode 3: Terrain Management

Terrain Management and Avalanche Safety

Terrain management is key in backcountry skiing and avalanche safety. It is the only factor you can control while in or around avalanche terrain. Keep an eye out for the five red flags while backcountry touring.

  1. Recent Avalanches

  2. Cracking and Whumphing

  3. New Snow

  4. Rapid Warming

  5. Recent Winds

Episode 4: Parking Etiquette

Backcountry Skiing and Parking Etiquette

During winter storms make sure to stay out of the Colorado Department of Transportation. Park in established parking areas, don’t stop in designated avalanche areas, be aware of your surroundings. CDOT is trying to maintain avalanche safety for everyone, do your part. Also make sure to check COtrip for road closures and highway information before driving over the passes.

Episode 5: Backcountry Etiquette

Backcountry Etiquette

Everyone is in the mountains to explore and have a good time, including you. Make sure to treat others with respect in the backcountry. If using a radio, keep chatter to a minimum and be clear and concise. While setting a skin track, keep it safe, accurate and efficient. Things to consider while digging a pit, dig in a safe location and fill in your pit when finished. Remember, we are all there to have fun!

How to Choose the Perfect Backcountry Ski

New Backcountry Skis

Everyone likes new skis, but how do you choose the right ski? Here at Pine Needle, we specialize in backcountry touring gear and offer a demo fleet to make sure you get on the perfect backcountry ski at the right price. With so many options these days and company’s claiming they have the “best” backcountry ski, it’s hard to know where to start. How do you know which ski is your ski? There are online reviews of every ski on the market, though most reviews will say every ski is a good ski. Getting a ski under your feet is the number one step in shopping for a new backcountry ski.

Choose the Perfect Backcountry Skis: Photo by William Berger

Choose the Perfect Backcountry Skis: Photo by William Berger

What We Offer

We offer an array of the best backcountry skis on the market including skis from Voile, Blizzard, and DPS. These range from deep backcountry powder skis to narrow ski mountaineering skis. Whatever your style is, we have the ski for you to test. When it comes to shopping for a new backcountry ski, knowing how the ski performs is key to success. The best way to get an understanding is to get on the ski and see how it feels. Finding the right backcountry ski can be the difference between loving the up, the down and every turn in between or despising the ski every-time you’re out.

Ski Testing

pineneedle-mountaineering.jpg

We suggest testing multiple skis before you buy. We’ve partnered with Purgatory Resort to offer demo days throughout the year. This gives you the opportunity to test multiple skis in a day. We make sure to tune every ski and have them dialed for you on our demo days. We believe a well-tuned ski helps you, the skier, make the right decision. Our demo days allow you to take two or three runs on each ski to help get a better understanding of each ski’s feel and helps narrow down which ski is right for you. After testing during our demo days, and you have two or three skis you think could be the one, it’s time to take skis out for a full day and truly discover what the ski is capable of.

If you are in the market for a new backcountry ski, we think it is a good idea to test skis in the backcountry. Test the ski where it will be used the most. You will be using the ski for several hours a day in variable conditions and want it to perform at its best. Our line of skis have Dynafit demo bindings to give you the full backcountry testing opportunity.


The Perfect Backcountry Ski For You

Powder

Photo by William Berger

We offer skis for any snow condition. Looking for a backcountry powder ski? For men or taller women, our 178cm DPS Pagoda Tour 112 would be a great ski to test. It boasts lightweight tour construction with a carbon laminate combined with ash and paulownia woods and aerospace grade foam. The strength of an airplane and light as a feather. The DPS Pagoda Tour 112 offers a smooth ride with its 15 meter turn radius and 140mm tip, 112mm waist, and 125mm tail. For a total weight coming 1480g per ski. For a women’s specific powder ski we offer the DPS Yvette 112. This 168cm ski gives you a carbon and aspen core for a lightweight but damp ride for choppy snow at the resort or deep backcountry ski days. With a 15 meter turn radius and a 139mm tip, 112mm waist, and 124mm tail the DPS Yvette 112 makes you the ultimate mountain taming machine.

In comparison, an alternate backcountry powder ski is the 178cm Voile HyperDrifter. The ultimate powder ski from Voile. This ski offers a carbon weave construction with a paulownia wood core. It may not have a foam core, but the HyperDrifter provides a 155mm tip, 121mm waist and 138mm tail. This ski gives you the rise and stability on the deepest days. It comes with a 19 meter turn radius and weighs in at 1,555g per ski. The women’s Hyperdrifter (164 cm) offers the same carbon and paulownia wood construction with a 149mm tip, 115mm waist, and 132mm tail. Altogether, the women’s HyperDrifter has a 17.6 meter turn radius and weighs in at 1300g per ski. The lightweight construction and powder design helps you stay afloat and ski all day long.

If you’re looking for a ski with a little less underfoot but still a perfect backcountry ski for powder days, look no further than the Voile V8 and HyperV8. The 176cm Voile V8 comes with an aspen and carbon core giving you a lightweight and damp ride for a variety of snowpack’s. It has a 141mm tip, 112mm waist, and 123mm tail. With a 17 meter turn radius and weighing in at 1750g per ski, the V8 helps you float on the deep days and keep your legs functional all day. They 176cm Hyper V8 has the same dimensions as the V8 but is a little bit lighter, weighing in at 1400g per ski. They Hyper V8 is for skiing the most vertical and getting in as many turns in as you can to maximize every powder day.

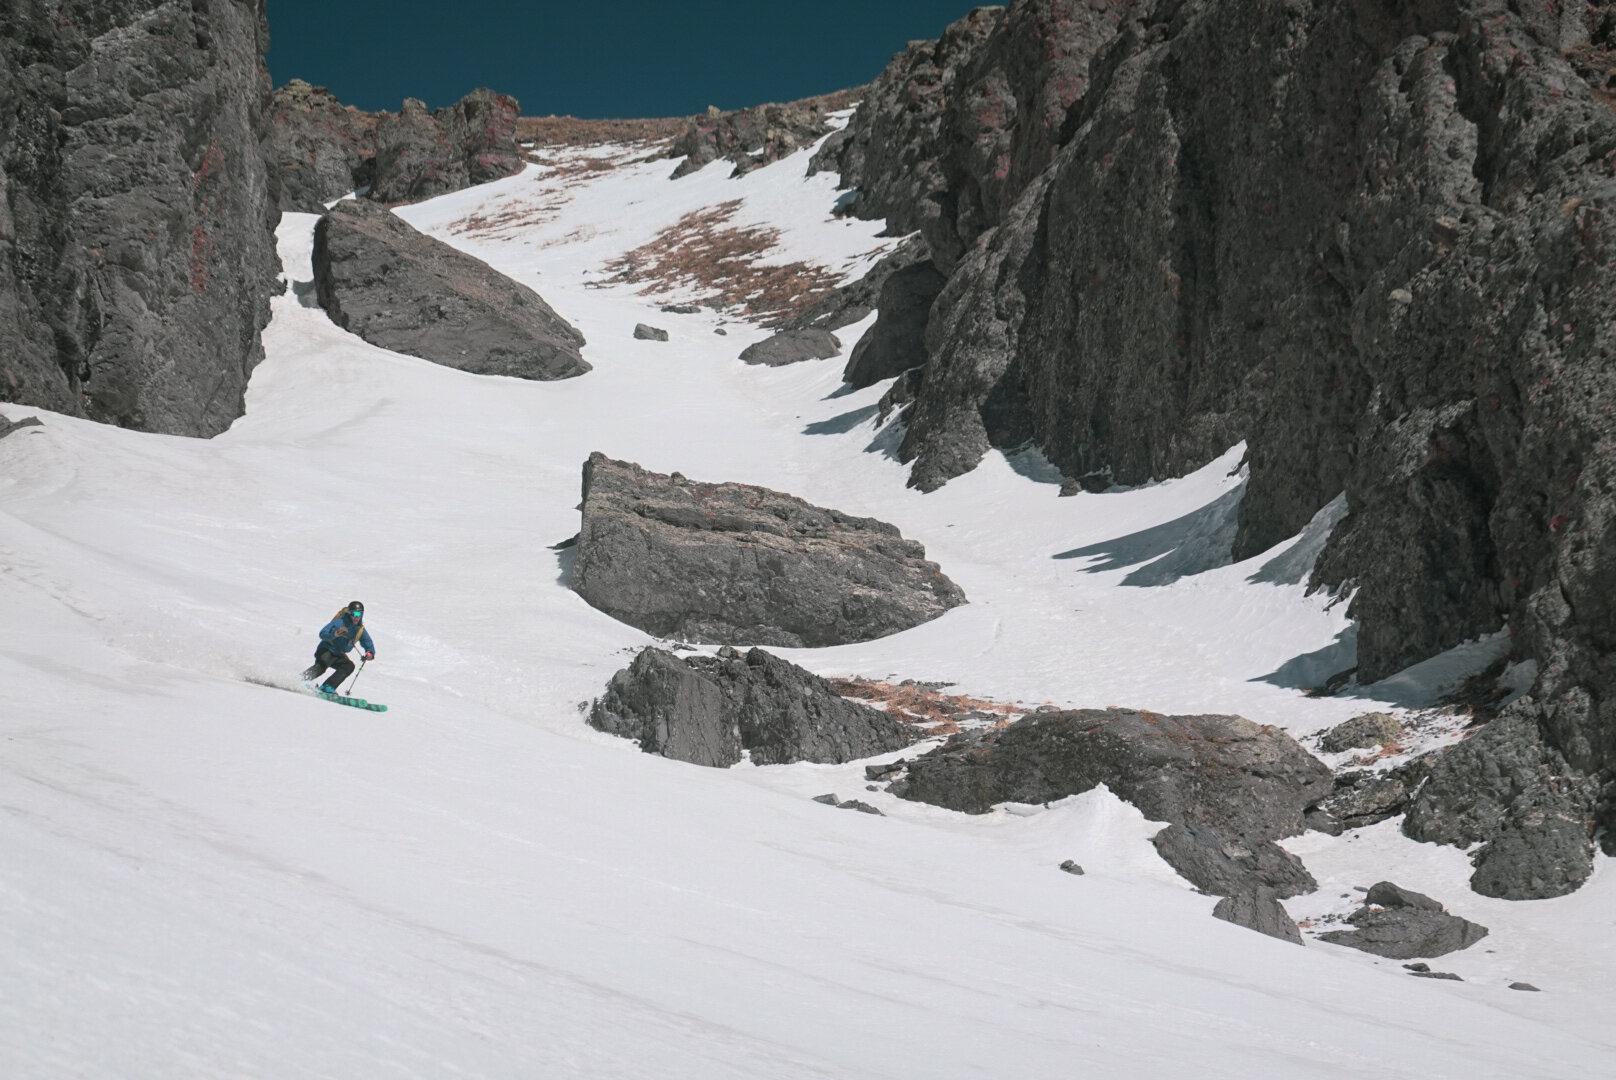
Variable Conditions and Spring Charging (San Juan Masters)

Spring Skiing in the San Juan Mountains: Photo by William Berger

Spring Skiing in the San Juan Mountains: Photo by William Berger

For conquering any conditions we offer the 184cm DPS Pagoda Tour 106. Offering the same construction as the Pagoda Tour 112 but more nimble for skiing everything from powder in the trees to sun cups and wind crust. The Pagoda Tour 106 is one of the most versatile backcountry skis on the market. With a 19 meter turn radius and a 138mm tip, 106mm waist, and 122mm tail this ski will help you perform on any terrain with any snow conditions. Made for powder skiing all winter to tackling big lines in the spring. The DPS Pagoda Tour 106 will carry you everywhere you need to go. We also have the 163cm DPS Pagoda Tour 100. This ski is perfect for women looking for a lightweight easy to ski all mountain ripper. With the same construction, the Pagoda Tour 100 offers a 15 meter turn radius and a 130mm tip, 100mm waist, and 115mm tail. This ski comes in a 1280g per ski, making it easy on the up and fun on the down. You’ll end every day with a smile on your face.

Skiing Grand Turk: Photo by William Berger

Skiing Grand Turk: Photo by William Berger

Alternatively we carry the Blizzard Zero G. This 172cm ski offers a 3D uni-directional carbon frame and paulownia wood core. Blizzard shapes the wood of every ski rather than bending the wood in a gig. This helps extend the life of the ski and keeps you sliding down snow and flying through the air all year long. With a 20 meter turn radius and a 131mm tip, 103mm waist, and 117mm tail, the Blizzard Zero G is a lightweight, big mountain performer. The Zero G weighs in at 1450g per ski. This ski will keep you smiling all day on powder days and keep your legs and body feeling strong and confident when the mountains open the door for big mountain lines. This ski is perfect for both men and women who want a lightweight powerful ski.

From Voile we offer the Voile Manti. This spring skiing masterpiece is for tackling the big lines you’ve looked at all winter. The 181cm Voile Manti comes with an aspen core and a fiberglass and carbon weave to help it stay damp at high speeds and keep your ride smooth with any conditions. With a 138mm tip, 104mm waist, and 124mm tail the Voile Manti has the design for you to excel on spring missions. With an 18 meter turn radius and weighing in just under 1750g per ski, the Manti will help you charge from the first day of the season to the last.

Time to Test You’re Perfect Backcountry Skis

Now that you have an idea for what skis we offer, it’s time to take some out to test. Finding the perfect ski takes time. If you are spending $1000 on a new pair of skis you want it to be something you will love, day in and day out. There is nothing worse than buying a pair of skis you hate. Next powder day make sure to swing by our shop at 835 Main Ave and grab a pair of skis to make every ski day the best ski day. In case you don’t have backcountry touring ski boots, we also have demo boots and all or our skis come with either Pomoca or Black Diamond skins. We want to offer you the best experience to find the perfect backcountry ski you will love. From skiing deep powder days to conquering steep lines, there is the perfect ski out there for everyone.


Mark Your Calendar

Our end of season sale starts on March 4th. This means you need to test skis before then to maximize the potential of finding your perfect backcountry ski. If you are eager to find your perfect ski, we have our demo skis available starting at $30 a day. To help you choose the right ski, we take two days of demo pricing of the purchase of a new ski. This means, if you demo two skis you will receive $60 of the purchase of new skis.

 If you want to try multiple skis throughout the day, the next Demo Day at Purgatory Resort  is March 21st. It is $20 for an entire day of testing unlimited skis. This should help you get a better understanding of which ski is right for you.


Avalanche Education

Before you take skis to the backcountry we ask that you have at least an AIARE Level 1 certification. This year is more dangerous than years past and skiing backcountry comes with a huge risk. With five deaths in the San Juan Mountains this year we encourage safe backcountry practices. Check the forecast from Colorado Avalanche Information Center every day before going into the backcountry. It is your responsibility you and your friends have the education and gear to be safe while backcountry touring. Utilize tools like CalTopo to help with route planning. Remember the five steps to stay safe; get the gear, get the training, get the forecast, get the picture, get out of harms way. The backcountry community has experienced a lot of tragedy this year. We don’t want you to become the next victim.


If you are looking to take backcountry awareness classes, a Companion Rescue Course or either an AIARE Recreation Level 1 or AIARE Recreation Level 2 certification check out these local companies.


Silverton Avalanche School


San Juan Expeditions


Friends of the San Juans


San Juan Mountain Guides    

How to Run the Hardrock 100

How to Run the Hardrock 100

Pine Needle Mountaineering’s very own, Drew Gunn is running his 7th Hardrock 100 this year (July 20-22, 2018). We are thrilled to have sat down with Drew prior to the race. He offered his very inspirational perspective and how he got to his seventh Hardrock. 

The Watch Crystal

The Watch Crystal

A Brief History of rock climbing on Durango's classic cliff.

by Timmy Kuss

DISCLAIMER: As recent poly-socio events clearly demonstrate, it is important that history be remembered and documented ac­curately. One man’s fun is another man’s horror show. This author has relied on anecdotes from aging climbers who likely didn’t see their accomplishments as notable or different from whatever they did the next day. This author’s memory for names, dates and events has proven unreliable, generally. Events represented here should be considered lore- that is- part history, part legend.

The Watch Crystal at East Animas.                                                                                    Topo by Steve Eginoire               

Select Routes from left to right:

Evolution, 5.11b, 90'. FA: Tim Kuss, Dan Foster, 1992.

Crime & Punishment, 5.11a, 150'. FA: Tim Kuss, John Duran, 1984.

Durangutan, 5.10c, 190'. FA: Ken Trout, 1980.

Jailhouse Monkeys (On Dope), 5.12a, 165'. Tim Kuss, Peter Day, 1992.

Apes of Wrath, 5.10, 100'. FA: Jim Kossin, Mark Katz, 1993.

Watch Crystal Crack, 5.10d, 190'. FA: John Byrd, et al. Early 1970's.

Simians to the Sun, 5.9+, 120'. FA: Bruce Lella, 1981.

Primate Highway, 5.11a, 65'. FA: Bruce Lella, 1987.

The Kong Route, 5.11c, 140'. FA: Tim Kuss, 1993.

The Black Arete, 5.8r/x, 40'. FA: David Kozak, 1985.


Chronology of Events:

Watch Crystal Crack: First climbed via aid in 1974. Not long after, Steve Wunsch, one of the top climbers in the country at the time, was in town repping a line at Pine Needle Mountaineering. Peter Jamieson lead Wunsch to believe the route had already been completed without the use of aid. After reportedly “hiking” the crux pitch (5.10+) with ease, Wunsch repeatedly queried Jamieson, suspicious of the scary upper pitch (5.8), which was relatively easy and had been free-climbed many times over.

Durangutan: Bolted mostly on rappel in 1980 by Ken Trout. John Duran and Tim Kuss added a bolt to the direct finish in 1983. At first a heady endeavor, the route has been through several rounds of retro-bolting by the first ascent party and others.

Simians to the Sun: The moderate classic route on the Watch Crystal. Bolted on lead in 1981 by Bruce Lella.

Crime and Punishment: Originally bolted on rappel by Tim Kuss and John Duran in 1984 with five split-shank, 1/4” x 1-1/2” bolts branching off pitch 1 of Durangutan. It was a terrifying route to lead. Three more bolts were added to the start soon after. The climb has since been modernized with more and better hardware.

Primate Highway: In the mid-late 1980’s Bruce Lella returned to Durango after moving to Mammoth, CA and added this stout first pitch to the wall.

The Black Arete: In the mid ‘80’s Dave Kozak was a poor college student and a bold climber. From the ground-up, Kozak established the route on-sight, with no bolts! 30 years later, the overall attitude regarding the use of drilled hardware to protect climbs has become liberal. Being virtually unprotected, Kozak (now a professor at the college) liked the idea of seeing his route get bolts so that more climbers could enjoy it. He encouraged a well-intended student to finish the job. As the lad started drilling, hor­rified voices from below shouted him down. Many climbers who have done the route in its original state were very proud of the boldness required to lead it, and they weren’t going to let their experience become devalued by the addition bolts.

Apes of Wrath: Bolted on rappel in the early 1990’s by Jim Kossin and Mark Katz with a power drill. Kossin recalls, “Mark and I hiked back to the car and found a note on the windshield. Some guy had already threatened to chop the newly installed bolts from the route! We were really pissed off about this anonymous note and that’s where the name Apes of Wrath came from.”

Jailhouse Monkeys (On Dope): Bolted on lead by Tim Kuss and Peter Day after getting arrested in Utah on their way to Yosemite in the early 90’s. The route intersects the original finish to Durangutan at the shared last bolt. (full story at durangorockclimbing.com)

The Kong Route: Bolted on rappel in the early 90’s by Tim Kuss. The route intersects The Black Arete for a short distance where the bolts refrain, in deference to the previously established route.

Evolution: Bolted on lead by Dan Foster and Tim Kuss in the early 1990’s. Later re-bolted to be conveniently climbed from the ground.

Max Schon on The Kong Route.                                                               &nb…

Max Schon on The Kong Route.                                                                                      Photo by Steve Eginoire


In the mid 1970’s, there were just a handful of climbers in Duran­go; those who climbed at X- Rock and sometimes at the almost forgotten cliffs at Lightner Creek. No one seems to remember who the first climbers were to explore the comparatively grand crags of East Animas. More than likely, it was exactly those who can’t remember, climbers like Peter Jamieson, then a student at Fort Lewis, who recalls “The interesting thing about East A [Animas] in the ‘70s was that nobody really knew what had been done or when. At least a couple of times we thought we were doing a first ascent only to find a rusty piton half way up. Did they rappel off? Did they com­plete the route and leave the pin? Who were “they”?”

Such is the history, where Durango climbers complied with an ethos of climbing in the moment, without thought for posterity. They climbed well without sticky rubber or cams; humility and understatement were common. There was no internet, Mountain Project or other digital venues for which to spray about the radness of your most recent ascent. It was the climbing shops where folks shared information, found partners, and partook in all manner of climbing geekery.

In the early 1970’s, John Byrd ran the Fall Line shop, which was on College Drive near 8th Avenue. Bringing experience from the California scene, Byrd, with partners Tom Norton, John Ritchey and the late Rob Blair (all profs at Fort Lewis) were surely among the first climbers to visit East Animas, completing early aid ascents of the now classic Watch Crystal Crack.

During that period, Mel Matis opened Pine Needle Mountaineering and hired Peter Jamieson, who with partners like Bub Smith, Mike Borga and Mark Dalen, plucked several classic first ascents at East Animas, including the fabled sandbagging of Steve Wunsch for the first ascent of The Watch Crystal Crack without the use of aid.

Later in the ‘70’s, Bruce Lella was working at Gardenswartz and Ken Trout was a student at the college. With these two ultra-talent­ed climbers, Durango climbing standards jumped at least a notch, if not five. With Trout’s addition of Durangutan in 1980 and Lella’s Simians to the Sun in 1981, the Watch Crystal face was validated as classic territory.

The establishment of these routes also introduced the first climbs in Durango to be protected entirely by drilled hardware. Durangutan and Simians to the Sun could be viewed as early forays by vision­ary climbers into what later became the sub-genre of “sport climb­ing” and, of course, the associated never ending “to bolt or not to bolt” debate.

If local climbing standards were elevated with the addition of Duran­gatan and Simians, they were soon blown away by John Duran’s stunning un-roped solo ascents of both routes on the same day in 1983. The Ignacio native represented local climbing by matching or elevating standards without fanfare wherever he climbed.

The decade from the early 1980’s to early ‘90’s saw steady and some­times controversial route development on the Watch Crystal face. From the well-protected classic, Apes of Wrath, power drilled on rappel by Jim Kossin and Mark Katz, to the notorious Black Arete, climbed on-sight by David Kozak with no bolts, the Watch Crystal face not only mirrors the do’s and don’ts of the climbing world, but represents Durango’s world class.

More of Tim's stories and beta can be found at:

Durangorockclimbing.com

Peak Bagging in Southwest Colorado

Peakbgging_etzel_k_0109_BP.jpg

What it Takes

The high country is officially accessible on foot! Stop by & check out our peak- bagging essentials at Pine Needle Mountaineering. We've got a great selection of apparel, backpacks, maps, water-filtration, trekking poles, headlamps, and lightweight climbing gear. 

Vestal Peak, 13,864'

A mountain goat poses below Vestal Peak's (13, 864') Wham Ridge. Photo by Steve Eginoire

A mountain goat poses below Vestal Peak's (13, 864') Wham Ridge. Photo by Steve Eginoire

This beautiful peak is located in the heart of the San Juan Mountain's Grenadier Range. 

A lofty mass of billion-year-old quartzite, Vestal is a classic example of the heavily glaciated terrain that defines this area of the Weminuche Wilderness.

Vestal Peak's signature feature is known as the Wham Ridge, a dramatic sweep of polished stone comprising the entire NE face of the mountain. Clearly labeled on most maps, Wham Ridge is a gorgeous climb and a perfect objective for those looking to hone in basic alpine rock climbing skills.

Getting There

From Molas Pass Trailhead (665), descend to the Animas River, and locate Elk Creek Trail (503) a few hundred yards south of the bridge. 3.5 miles

Follow Elk Creek Trail (503) for 3.5 miles to a few large beaver ponds just upstream of the Vestal Creek drainage. Keep an eye out for moose! 

At the eastern end of the main pond, locate a well-worn trail heading south through the woods and down into Elk Creek.

Find a good place to cross the creek, and follow the established trail up Vestal Creek for a steep 2 miles until reaching the large meadow/marsh area directly below Vestal and Arrow Peak.

Locate a nice cascading stream above the south side of the meadow. A faint trail can be found on climber's right of the stream that eventually gains a high bench at the base of Vestal and Arrow peaks.

The most straight-forward route up Wham Ridge can be found on the climber's right side of the face, near the ridge proper. Expect to encounter difficulties up to 5.4, but there are many options to choose your own adventure throughout the face.

To descend, drop directly off of the summit onto the south face. Carefully scramble down loose 3rd-4th class gullies and ledges, aiming for the saddle in between Vestal and Arrow. From the saddle, descend steep scree and onto the moraines that lead back to Vestal Basin. Don't forget to jump in the lake!

Topo Map of Grenadier Range

Just look at those contour lines!

Just look at those contour lines!

Peak Profile

Apparel

Gear

Accessories